Bench Bracket Resource

Benches are a public space for contemplation and private refuge for relaxation. Whether in an open, community area or a spa-like shower at home, benches create a sense of comfort and safety. However, in order to create this atmosphere, one must first have the proper tools and knowledge to form a safe and secure installation. Many factors are involved in the installation of a floating or supported bench, not only to ensure the bench and bench top remains secure, but also to protect and shield the surrounding areas and substructure.
A Few Things to Consider:
Installation
While general guidelines recommend that braces be no more that 32” (80 cm) apart, most homeowners and contractors chose to shorten this length to maximize the carrying capacity of the bench and have complete security in their project. Several key factors are involved in determining proper installation procedure.
- Location: Only use a weather and rust-resistant material, such as stainless steel, in damp environments. When it comes to showers, raw steel, powder coated metals, and other materials tend to be unreliable and not as durable as stainless steel, which resists rusting even in the most humid of environments.
- Waterproofing: In humid areas, such as spas, showers, and saunas, ensure that you appropriately waterproof the area around where your bracket comes through the wall to prevent leakage into the wooden studs or substructure. If this step is not taken, the wall, brace, and more may have to be ripped out and replaced, which could be costly. Flashing, an appropriate drainage plane, waterproof cement boards, and mortaring should all be included in a proper installation and, for added safety, perhaps a paintable waterproofing before tile or stone are installed with grout and/or silicone caulk.
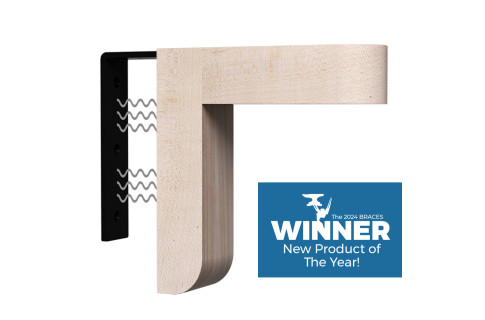
- Weight: Both the weight of the benchtop and the body weight of any user has to be considered to calculate accurate spacing and number of braces or brackets needed. Most quality-made brackets can hold up to 500 pounds (225 kg), but consulting the company guidelines for your selected style is suggested. If the bench is going to be a communal bench, such as a park or cafe, spacing should be closer than that of a private shower, which will have both lighter traffic and less weight capacity demanded. Regardless of your perceived weight necessity, remember to never extend the length between braces beyond 30 inches.
- Substructure: Tie braces or brackets into a secure substructure to avoid failure. Studs, concrete, or other framing elements provide much more support than drywall. Securing the brace merely into a wall finishing element could result in significant damage to the finished bench, wall, and potentially even other surrounding areas.
- Pitch: If the brace is installed in a shower, sauna, outdoors or similarly humid/wet area, consider water run off in your installation. The pitch of any bench seat will determine whether water and condensation will pool and cause mold and mildew over time or merely run off. Adding a slight forward tilt will create an outlet for any moisture to run off, leaving your surface free of any liquids that could cause unsavory and uncleanly growths.
Adhesive or Fasteners
Some may choose to create a bench in their shower using grout and their choice of tiling or stone, but a more modern approach is to create a bench with the appearance of floating or flowing directly from the wall through the use of appropriate stainless steel supports. The bracket or brace should always be fastened into studs or a supportive substructure for maximum strength and long-lasting support. Use appropriate bolts for individual support, hole, and application styles. When installing a floating bench using a bracket or brace ensure that waterproofing steps are taken, as stated in the installation guidelines.
Depending on the materials, thickness, and location different methods may be used to secure the benchtop and complete the installation. Use an industrial-strength adhesive, such as 3M™ VHB Acrylic Tape or silicone (if in a shower), when you are installing a clear or thin surface for a seamless, modern look. Glass or stone benchtops with stainless supports as shower benches are a perfect example of this method of installation, whereas other materials may be better secured with fasteners. Teak or other wooden benchtops may be installed using fasteners in routed holes to connect with the support structure.