How to Stain a Live Edge Shelf (Video)

Live edge wood slabs are unique pieces that can transform the look of a space. The beauty of the natural grain and varying width along the live edge is a refreshing break from the mass-manufactured elements of home decor that often line store shelves.
Combined with a tasteful staining, your live edge wall shelf can beautifully accentuate the cool, modern tones in your space.
Whether you’re a veteran stainer or an eager first-time DIY’er, it’s important to take great care when applying stain. We teamed up with Kyle Hammil of Trails End Custom Construction to help you prepare your workspace, gather all of the necessary equipment, and ultimately complete the project to perfection.
In this demonstration, Kyle stains the Maple Live Edge Floating Shelf from Federal Brace, but the equipment and steps will apply for virtually any live edge wood slab. For larger pieces, such as live edge table tops, having another individual around to help handle the material is advised.
Make sure to take pictures of your stained & finished shelf and tag us on social media!
How to Stain a Live Edge Floating Shelf
Tools & Equipment You’ll Need:
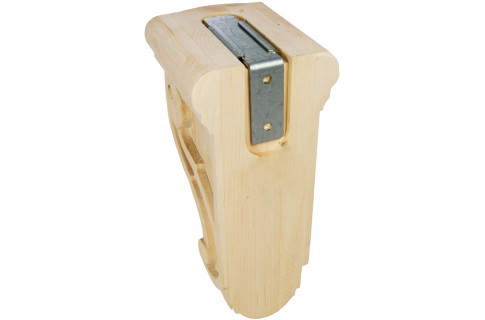
First and foremost, you’ll need a live edge wood slab. We used a solid maple live edge slab which is sold either in a floating or wall-mounted format. The floating shelves come pre-routed for brackets, but if your slab is not, be sure to complete that project before moving on to staining.
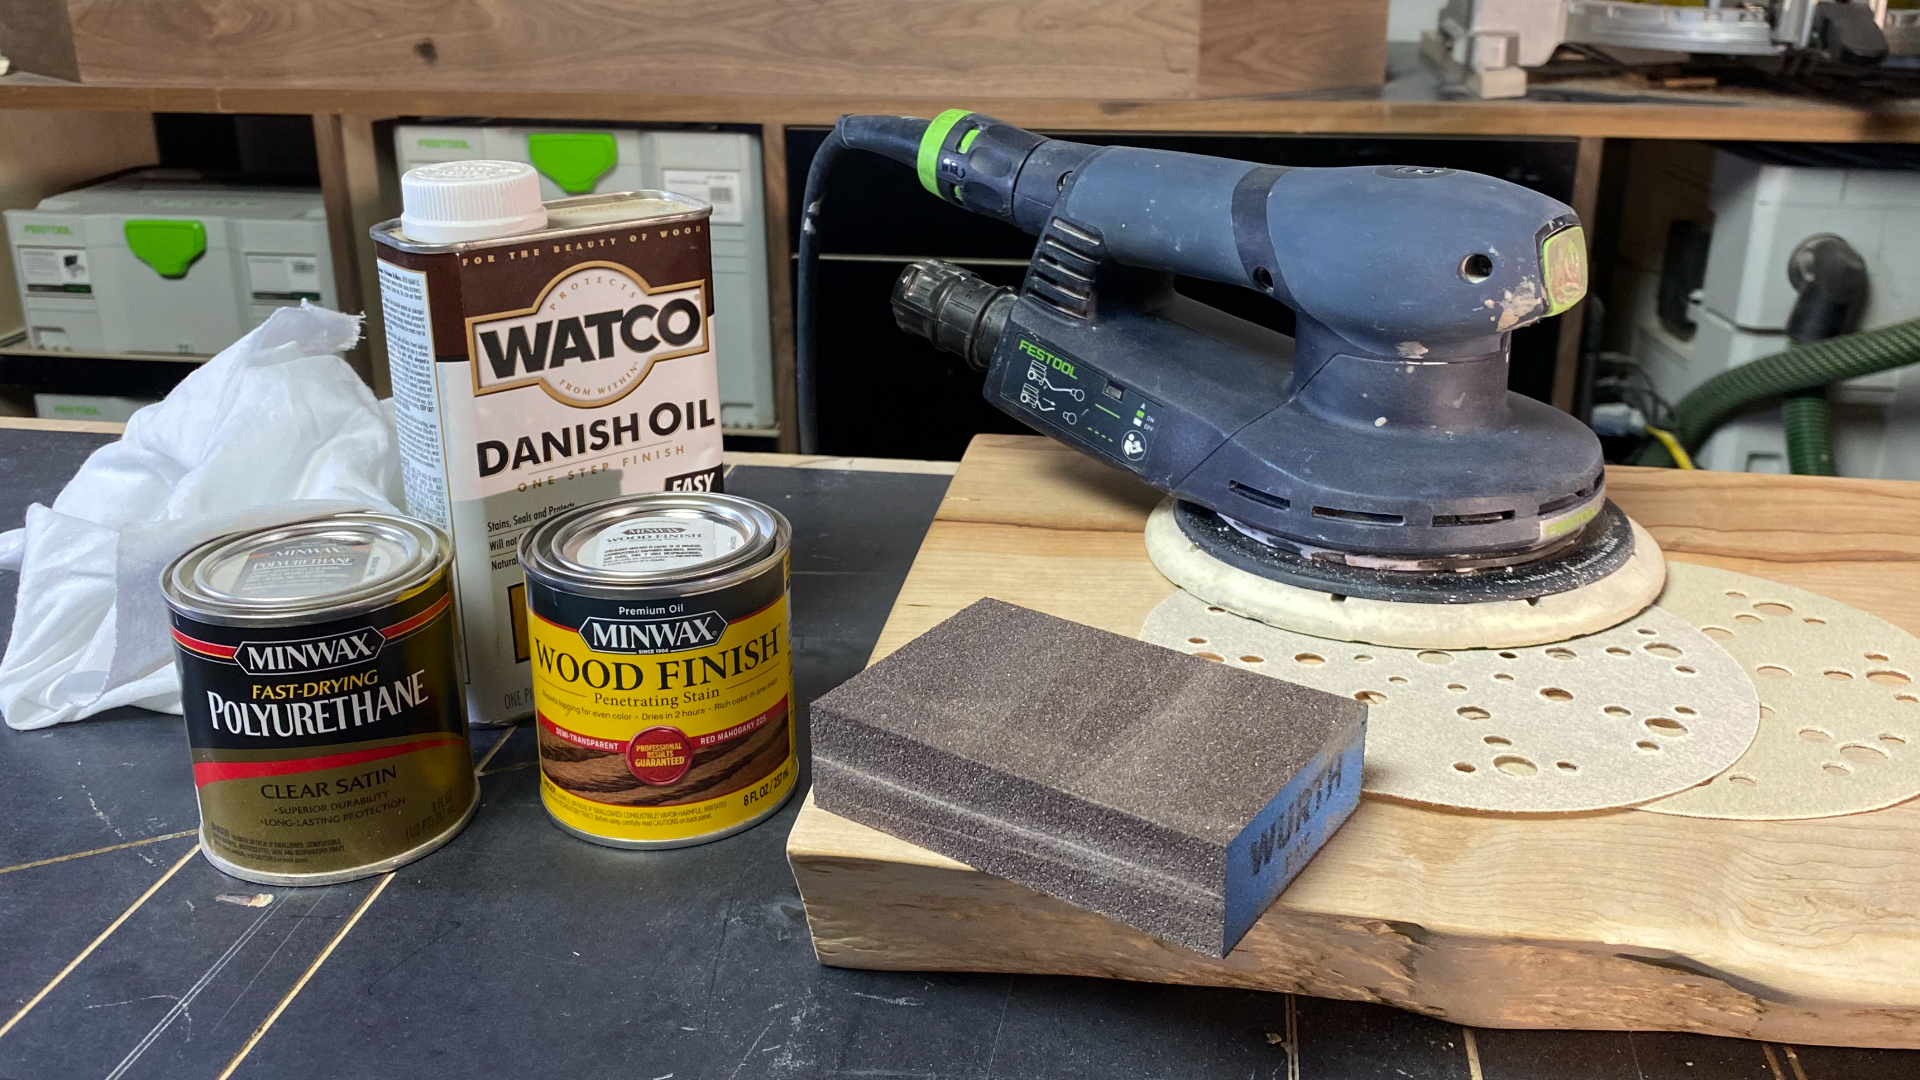
Next, you’ll need an electric orbital sander, a manual sanding block or sponge, and various grits of sandpaper (80, 120, 150, and 180). If you don’t have an electric sander, you can complete the sanding process with your sanding sponge.
Gather at least two clean rags: one for applying the stain and another for the clear coat.
As with any job that involves dust and fumes, personal protective equipment is a must. You’ll want a respirator, or at the very least an N95 mask to keep the dust particles from entering your lungs. Safety glasses are recommended as well to keep dust and wood shavings out of your eyes.
Keep a couple of pairs of latex or plastic gloves handy so the chemicals from the stain and clear coat don’t come in direct contact with your skin.
Finally, we recommend something to protect the back side of the shelf and serve as a buffer from your work bench. Extra packaging, old t-shirts, and moving blankets work great in this application.
1.) Prep & Sand:
The first step is to perform a thorough inspection of the wood slab. Take note of any irregularities, sharp edges, dents, and scratches that will require extra attention.
To effectively sand the slab, work through your grits from lowest number (most course) to highest number (most fine). Working through grits cuts down on the unwanted swirl marks that commonly come from electric orbital sanders.
Depending on how much sanding has already been done on the wood, choose a starting grit of 80 or 120. Then, work through 150 and 180. Sand with the grain of the wood and make large, smooth passes over the slab.
Next, it’s time to sand the live edge itself. We recommend using a mechanical sanding sponge or block here, as you don’t want to flatten the live edge that makes your slab unique!
With a 150-grit sanding sponge, work into the profiled edges and get into the nooks and crannies of the live edge. Pay special attention to any sharp corners: they’re dangerous and don’t hold the clear coat layer as well as smoother surfaces.

2.) Clean:
Before moving onto the stain application, it’s important to get the slab thoroughly cleaned of dust and debris. Make sure to keep your respirator on during this process.
To get the bulk of the sawdust off the surface of your shelf, an air compressor (or can of compressed air) does a great job - although certainly not required.
Next, use a tack cloth or damp rag to wipe the surface thoroughly and remove all debris. Failure to clean the shelf will result in a poor final result, so make sure you’ve gotten as much dust off your shelf and work surfaces as possible!
3.) Stain:
Now that the shelf is sanded and cleaned off, it’s time to begin applying the stain. For this tutorial, we used a Minwax wood stain that can be purchased at most hardware or paint stores.
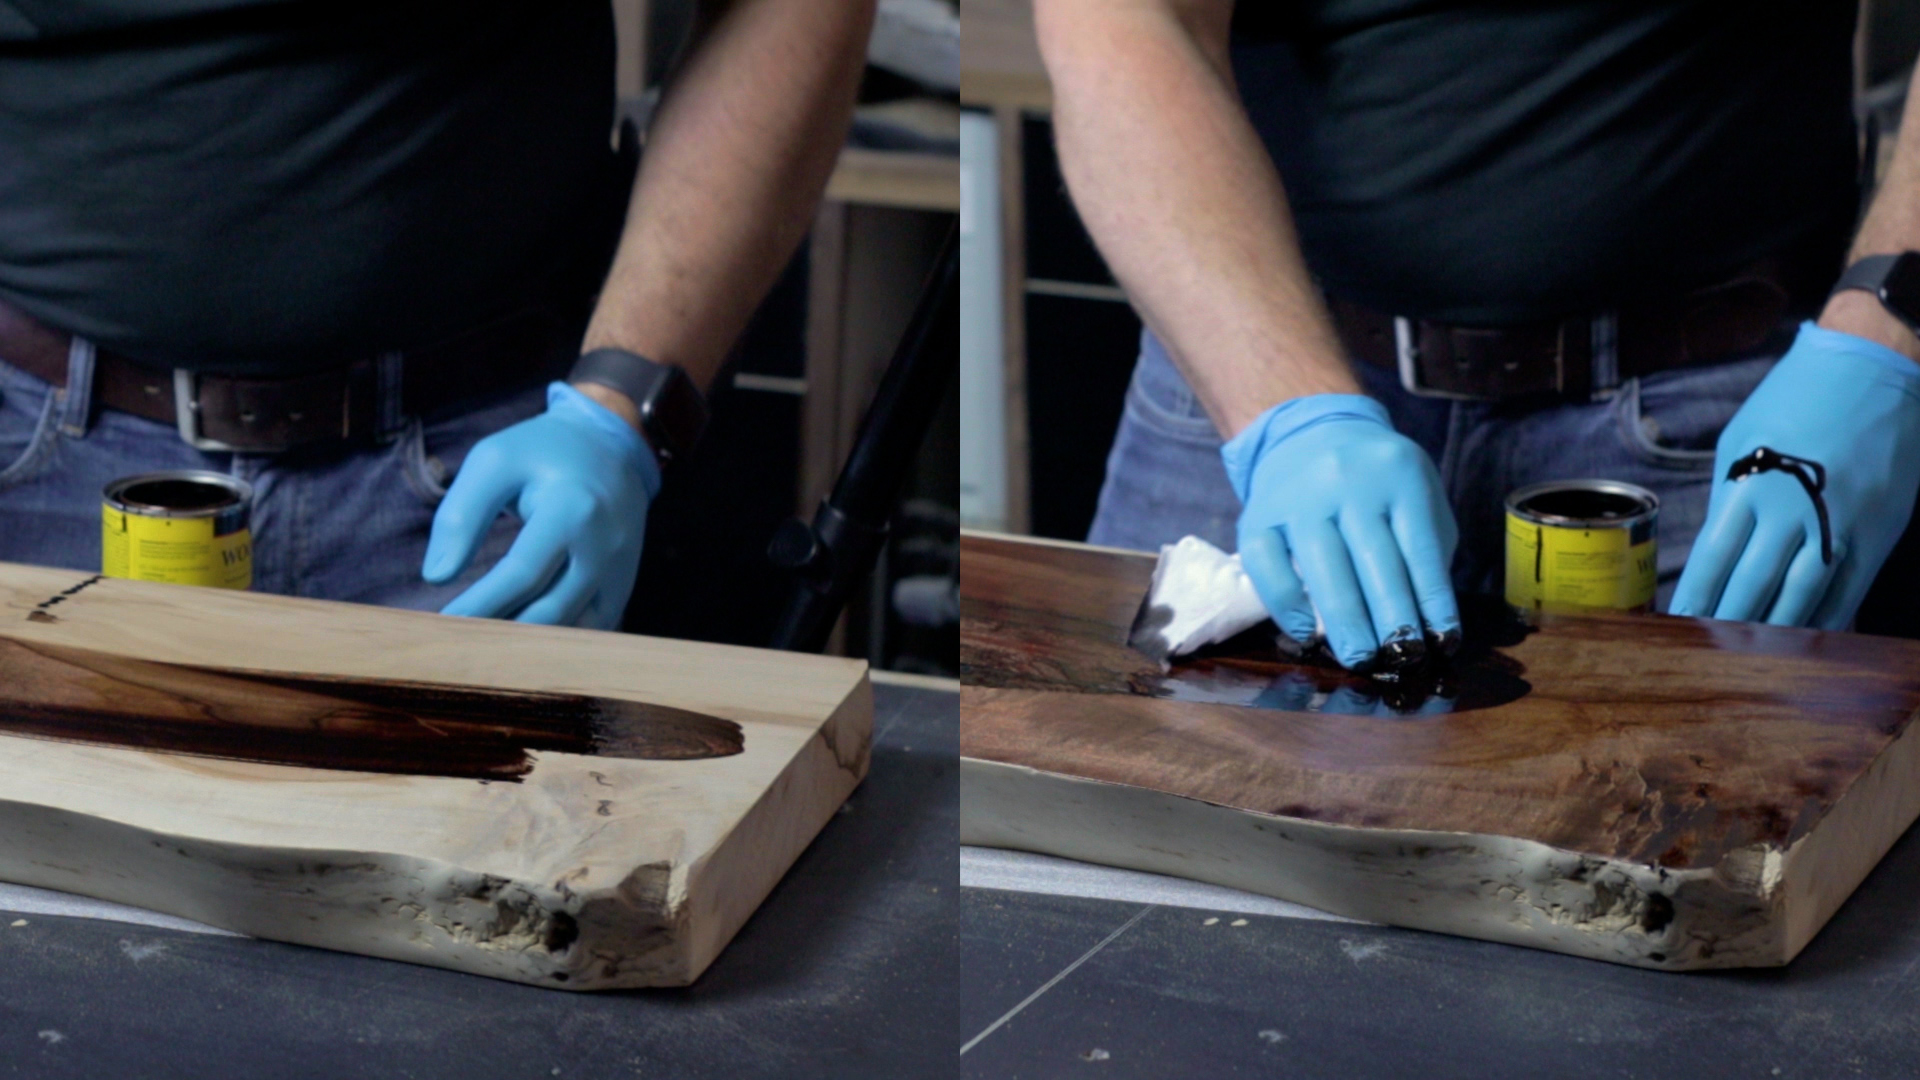
With a pair of gloves on, open your can of stain and prepare your first clean rag. Tip from Kyle: Don’t use your wife’s favorite t-shirt!
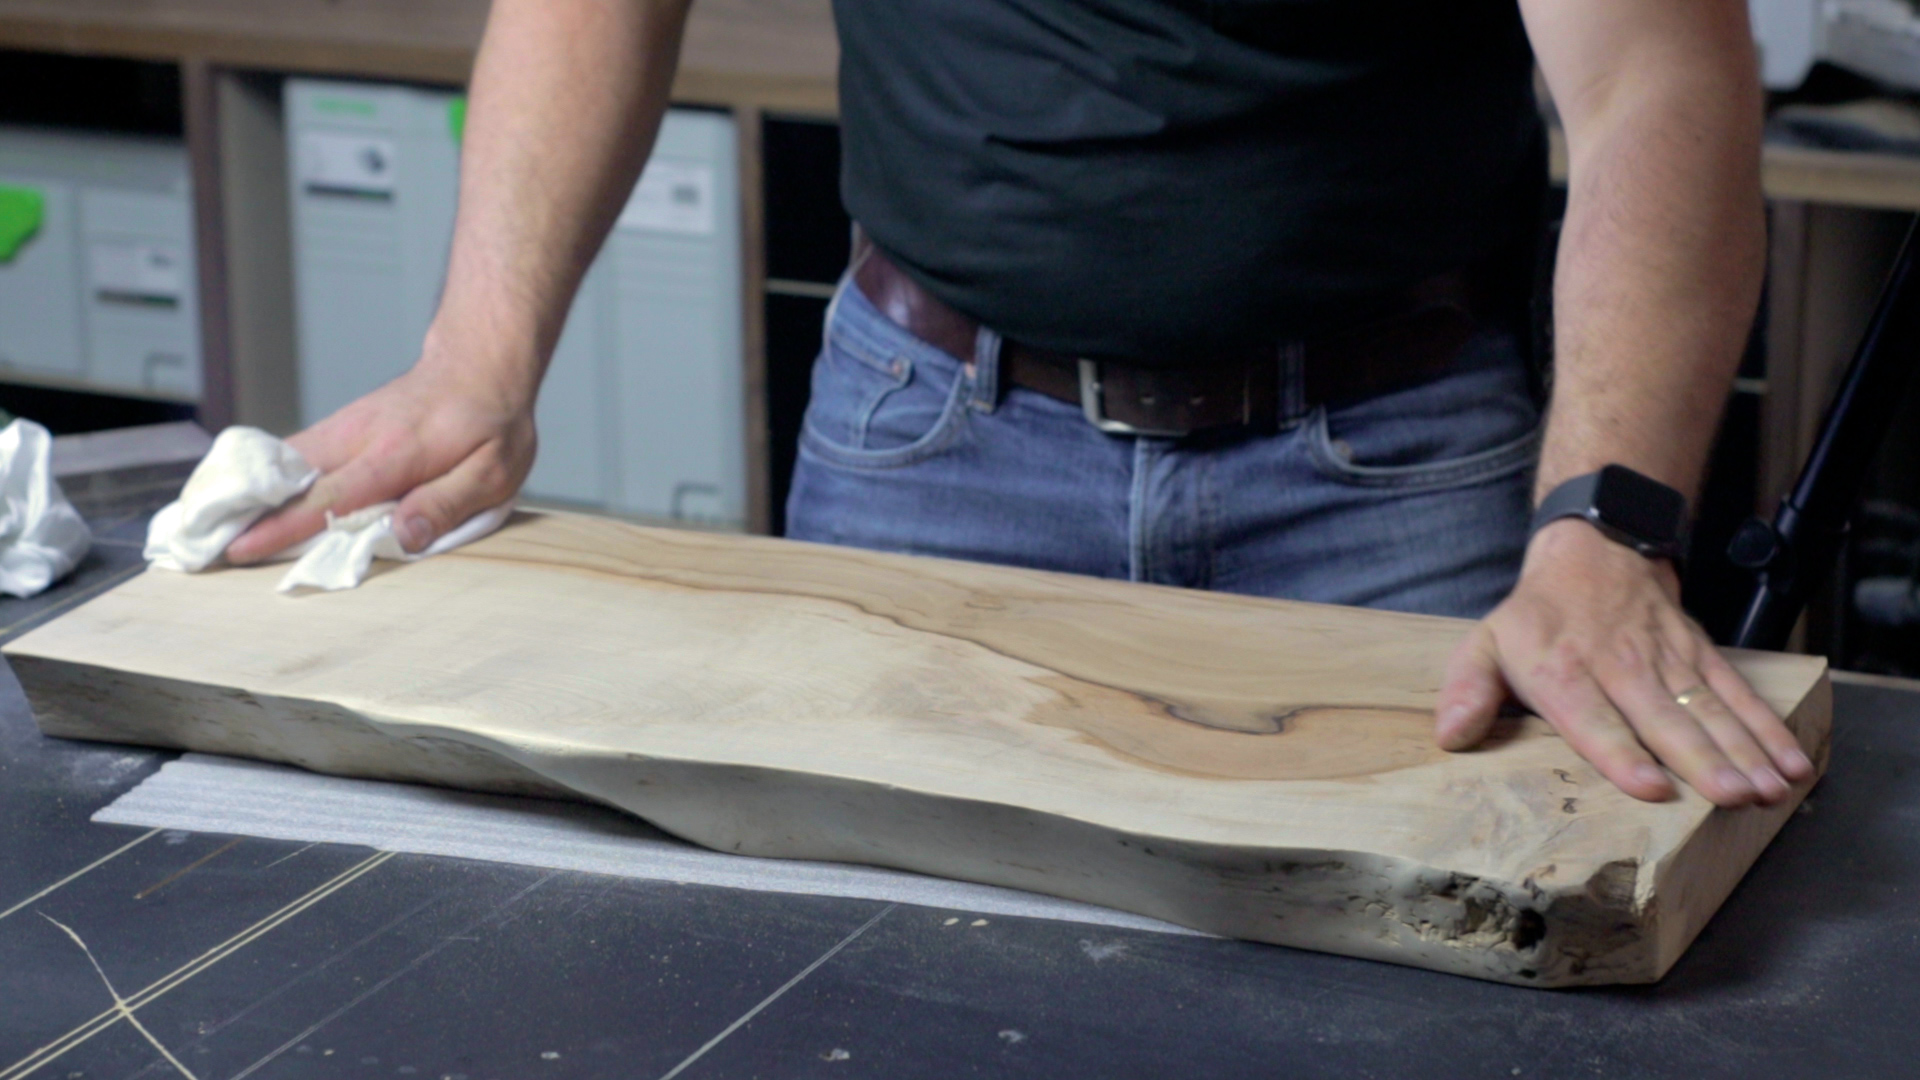
Dip the rag into the stain, and then apply it to the surface of the wood shelf. Move the product in with the grain, applying liberally to all sides and edges of the wood slab.
There will be some buildup of stain across the shelf, but that’s okay. Let it sit wet for 3-5 minutes so the stain can thoroughly soak into the surface of the wood.
After a few minutes, come in with clean, dry cloth and wipe off excess stain.
4.) Dry & Finish:
Let the wood slab sit overnight in a well-ventilated area. If you’re completing the project inside your home, make sure to open windows and use fans to divert as much of the vapors away as you can.
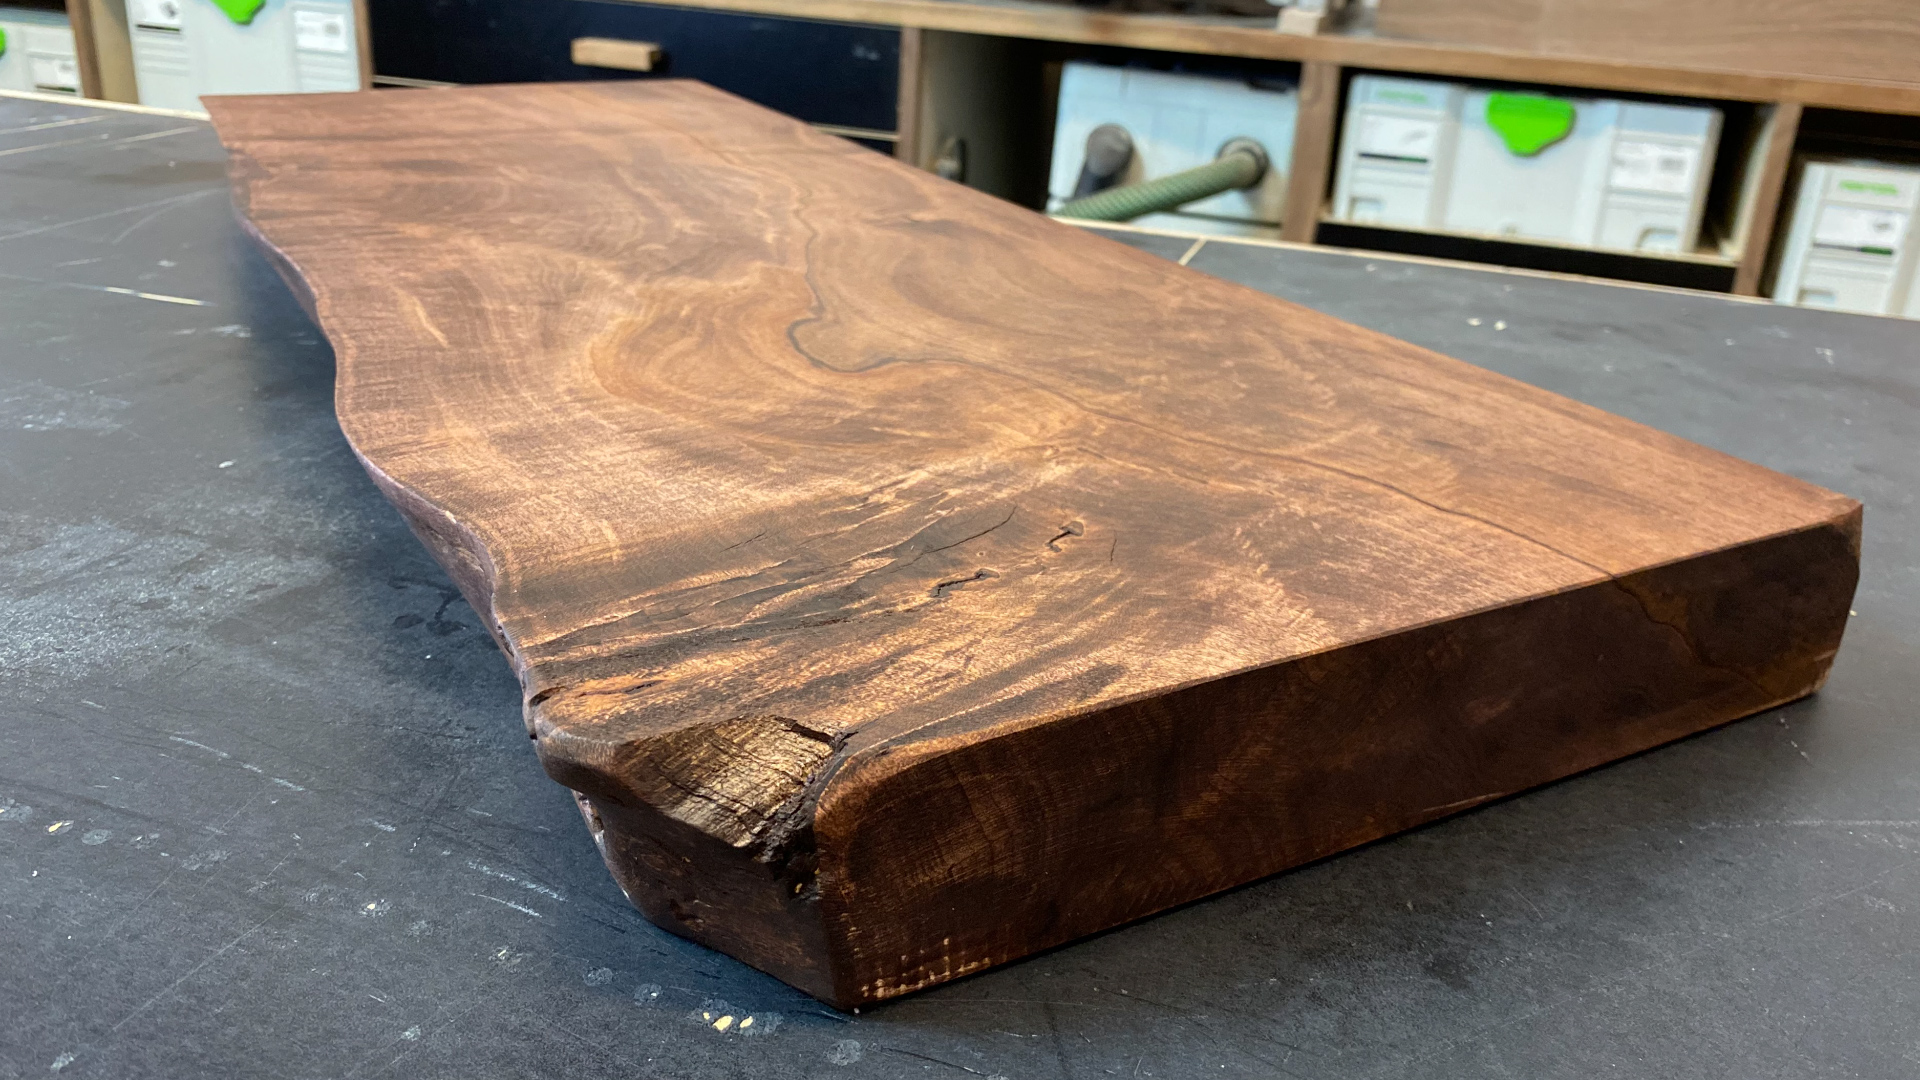
Once the shelf has dried for 24 hours or so, it’s time to apply the clear coat. We used Polyurethane wipe-on clear coat product, but there are tons of other options available.
The process of applying the clear coat is similar: with a rag, spread the clear coat across all of the stained surfaces of your shelf in a thin layer.
Let the clear coat dry and you’re all set!
Our live edge shelf kits arrive complete with all necessary mounting brackets and hardware, as well as detailed installation instructions.
Live Edge Maple Floating Shelf: pre-routed for our floating shelf support rods, the floating live edge shelf provides a sleek finished product with no exposed brackets. This installation looks fantastic and provides industry-leading carrying capacity.
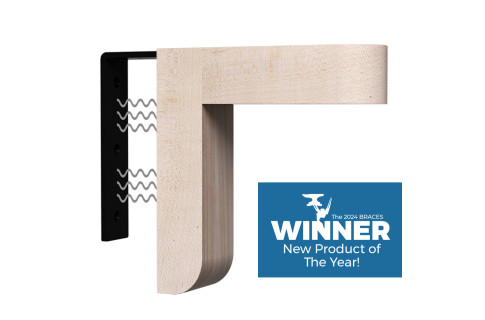
Live Edge Maple Wall Shelf: perfect for apartment-dwellers and renters, the wall shelf variation does not require opening up your drywall. Plus, the free-standing brackets can be adjusted to fit the exact width of your wall studs.
Many thanks to Kyle and the team at Trails End for this amazing tutorial. If you have any other questions about the staining process, contact us or tag us on social media!

Wood Species Guide: The Most Common Types of Wood

Where is the Real Forrest Gump Bench?

Supporting Adventure: Trail Talk II